 I always love making my own inexpensive versions of popular decor trends, so this spring I decided to tackle the floral wall hangings that I’ve been seeing around! By using supplies I found at Goodwill, I’m able to save money, save stuff from the landfills, and come up with something that’s one-of-a-kind. My version is inspired by forsythia, a spring staple in this neck of the woods. And it was super simple to make! Below are the materials I needed for this project. Many of them I already had at home, the rest went on my Goodwill shopping list:  Materials - A tension/curtain rod or something similar - Fabric - Faux greenery or flowers (optional—you can make these from fabric, too) - Scissors - Hot glue and gun - Twine - Wooden beads - Wire cutters - Floral stem wire - Floral tape - Spray paint (optional for the curtain rod) 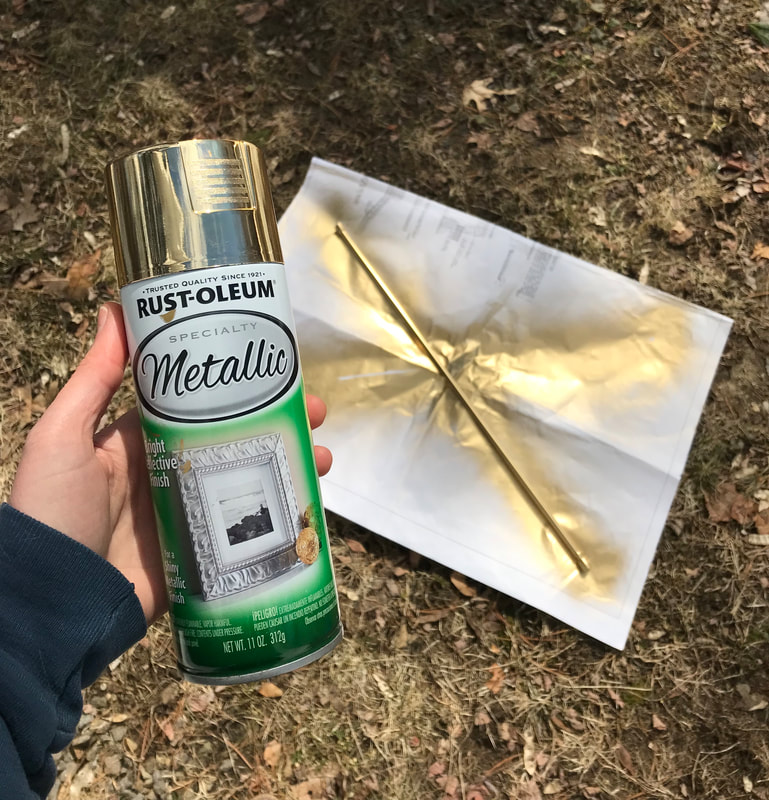 Step 1: If you need to paint your curtain rod, do that first following the instructions on your paint.  Step 2: Put on a movie or some music and start snipping! Making the flowers can take a while, but it’s pretty mindless work so you might as well have something fun on in the background. You’ll need lots of small bundles of greenery and tiny bunches of flowers. If you’re using thrifted faux flowers or greenery, use your wire cutters to trim them down. If you’re making your own flowers from thrifted fabric, start by just cutting out a lot of leaf-shaped petals in a few different sizes. Mine ranged in size from about a centimeter to an inch and a half tall. I did this by cutting long strips of my fabric then trimming those into the petals. That way I wasn’t dealing with a huge handful of fabric for every petal.  Step 3: When you’ve got a decent selection of petals and stems (you can always make more later if you need to), plug in that glue gun and roughly organize your petals into small, medium, and large-sized piles. One petal at a time, carefully add a dab of glue to the bottom center of each petal and fold it in half over the glue to create the petal shape. When that has dried, position it on one side of a stem, add another dab of glue, and press carefully into place. Add a second petal to the other side and continue to build the flower, petal by petal, starting with large petals in the back and layering smaller ones in the front until it looks right to you. My flowers usually ended up with roughly five petals (two large, two medium, one small). If you are making your leaves from fabric, too, cut them the same way (maybe a little larger), but fold them around the floral stem wire and glue them there instead.  Step 4: Begin arranging your flowers, leaves, and beads in lines (where the twine will hang) beneath the curtain rod so you can visualize how many you’ll need. I worked on this as I went so my hot glue gun was able to keep up with me. Continue until you have all the flora you need.  Step 5: Bundle leaves, larger bundles of flowers and greenery, or thrifted faux-flowers together as necessary in small groups using floral tape.  Step 6: When you have the layout the way you want it, lay out your lengths of string. Make sure you leave extra string so you’ll have plenty of room to tie it onto the curtain rod and to tie on the individual flowers. You can trim off the excess when you’re finished. Start attaching everything to the strings by working from one end of a string toward the other. To attach the flowers and small bunches of greenery, I would tie a tiny knot in the string where I wanted it, slide the stem inside, and tighten it carefully. You could add a dab of glue here if you’re concerned they may fall out. To attach the beads, the first option you have is to slide them onto the string and tie a knot just below them. I didn’t want a knot to show so I slid the bead onto the string then very carefully dabbed a bit of glue inside the bead and slid it up while it was still hot so the glue was entirely inside the bead as it dried. If you go this route, be very careful not to burn yourself! You’ll also want to make sure you pull the string taught while the glue dries so it doesn’t dry at an angle causing a kink in the string.  Step 7: To make the lengths of greenery, use the stem wire as a base and layer on the greenery as needed. My sprigs had holes at the base where I could send the wire through then wrap it around the branch to keep it in place. If yours doesn’t have this, you could try gluing it on instead. You may need more than one stem wire for each length. If so, twist the wire together at their ends to attach them. Layer the sprigs on top of that overlap to mask it. 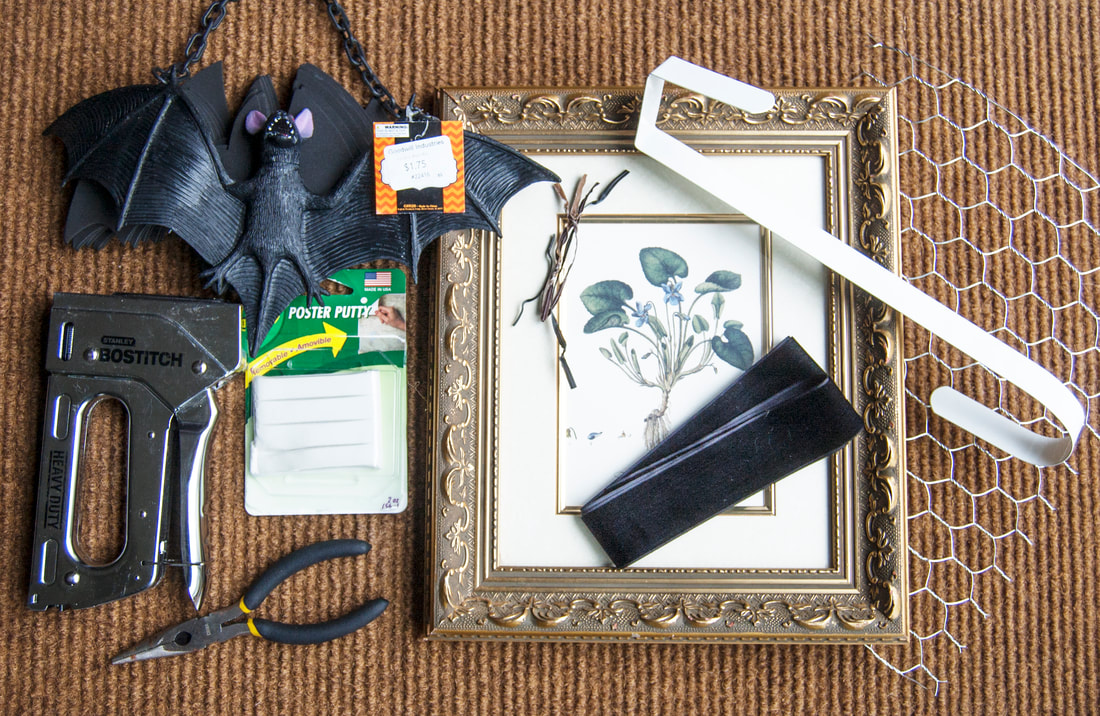 Step 8: Attach each length of twine and wire to the rod. To do this, I tied knots for the twine and wrapped the stem wire around the rod several times for each.  Step 9: Add one more piece of twine, thicker if necessary, tying it to both ends of the rod so you can hang it. Put the hanging up on your wall and trim any excess string. Then, just stand back and enjoy your new creation!  Goodwill has a rich history since its beginnings in 1902. The organization holds itself accountable to a triple bottom line of people, planet and profit, so I feel like this Earth-inspired project made from thrifted bits and pieces fits right in. It adds so much spring spirit to my home!
You can shake yours up by choosing a different color scheme or going big with your flower petals. When it comes to the dowel part, anything that’s long and straight would work so don’t feel like it has to be a curtain rod. The options for customization are truly endless. Just have fun letting the sights of spring inspire your decor!
0 Comments
|

- Home
-
Free Services
- Service Center Hours
- Community Conference Room
- Employer Services
- Career Specialists
- Film Industry Support
- Production Assistant (PA)Training
- Job Search Help
- JumpStart Youth Program
- GoodSkills Classes
- Next Steps Reentry Services
- Seniors 55+ Employment
- Veterans' Employment
- Veterans' Housing
- Veteran Family Services
- Program Surveys
- Shop
- Donate
- Jobs
- About Us
- Blog
- Events
©