 Candle holders are staples in most homes, whether used or for decoration. The perfect Halloween candle holder may not be in a store; it could be waiting to be created by you. A thrifted candle holder will have a second chance at life and be one of a kind after these DIY instructions. Materials: - Thrifted candle holder - Black paint and paintbrush - Branch of black peonies - Plastic spiders - Skull - Hot Glue and glue gun When we walked through Goodwill's houseware aisles, there was quite a selection of candle holders. There were tea light candle holders, candelabras, lanterns, taper candle holders, candle wall sconces, and pillar candle holders. We chose a pillar candle holder because the circumference is more expansive, allowing more room for attaching items. Pillar candles make great centerpieces and can generate the perfect atmosphere for any room. Step 1: Thrift for a Candle Holder When shopping for a candle holder, you want to find one that is sturdy and can complement your other spooky décor. 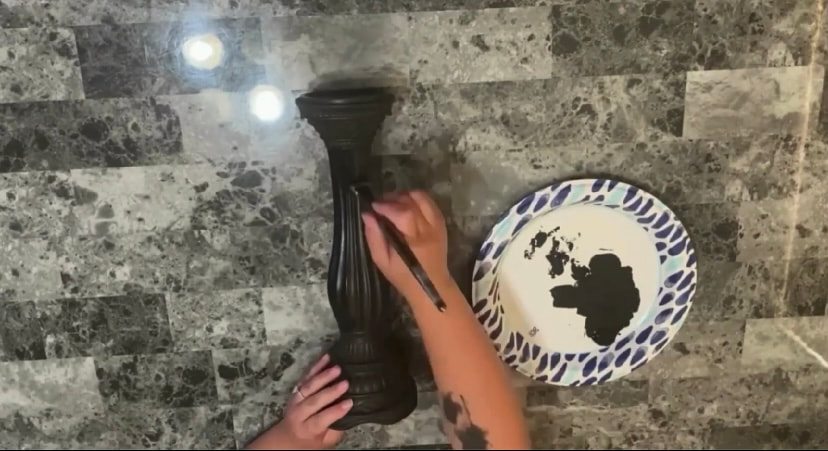 Step 2: Cleaning and Painting After finding the ideal holder, you'll start by cleaning it. Depending on the material, you can use warm water, soap, or a Clorox wipe. Once it's clean and dry, begin applying paint all over. Depending on your décor, we went with matte black paint. Two coats of paint will give it a solid finish. 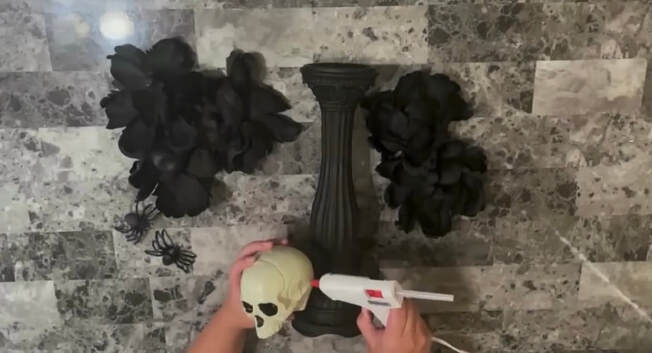 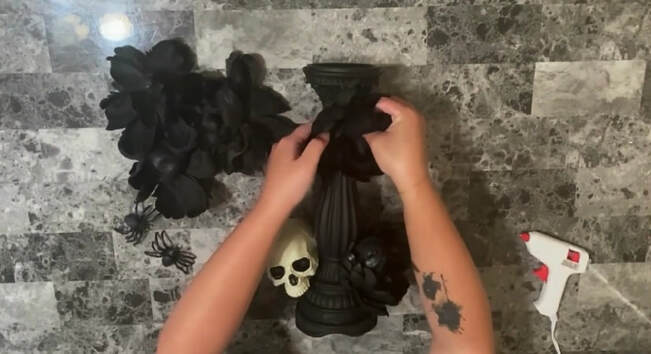 Step 3: Gluing and Attaching Spooky Elements
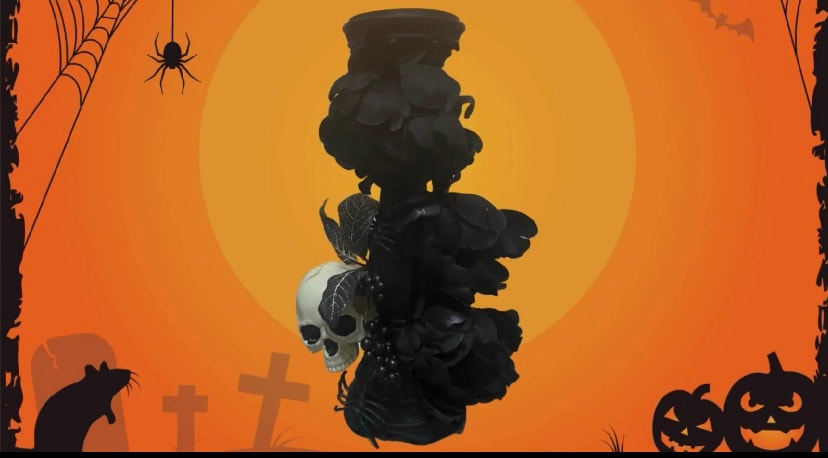
The candle holder's best complimentary Halloween elements were a skull, black peonies, and a couple of spiders. If you're unsure where to place them, you can test the placement and see what looks best. Once everything's dry and in place – you're done! Top it with your favorite candle and let the ominous aura pour out. If you've been wanting a Halloween candle holder and the retail stores don't have the one you're looking for - go to Goodwill, your Halloween Headquarters! When you shop at Goodwill, you're contributing to our mission to provide skills training, job development, and social services to New Mexicans. Tag us on Instagram or Facebook to show us your creation @goodwillnewmexico.
55 Comments
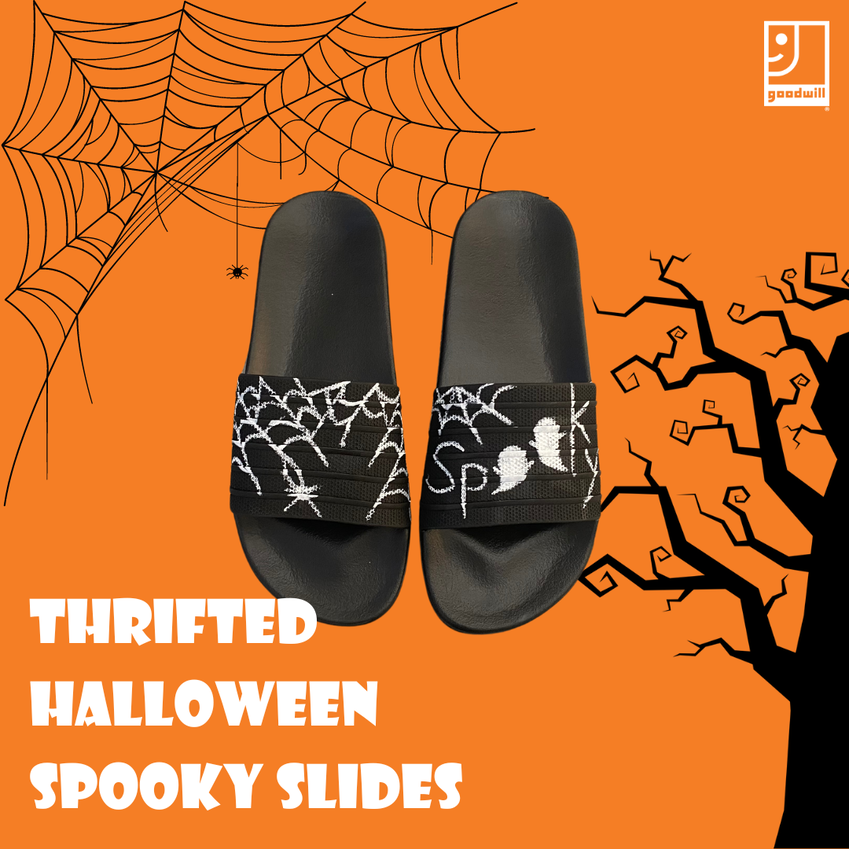 Slides were designed to be light and comfortable. A cute pair of slides will complete any lazy day outfit. We searched for a cute pair of spooky slides everywhere (Amazon, Shein, and Hot Topic). Since we couldn’t buy some, we decided to make them. Materials: - Thrifted slides - Black and white paint - Angled paintbrush - Round paint brush Step 1: Imagine your Design We wanted a simple spider web on one shoe and “Spooky” written on the other with ghosts replacing the O’s. Anything is possible with practice! Before we started painting on the slides, we drew the image first, painting on cardboard and then on the slides.
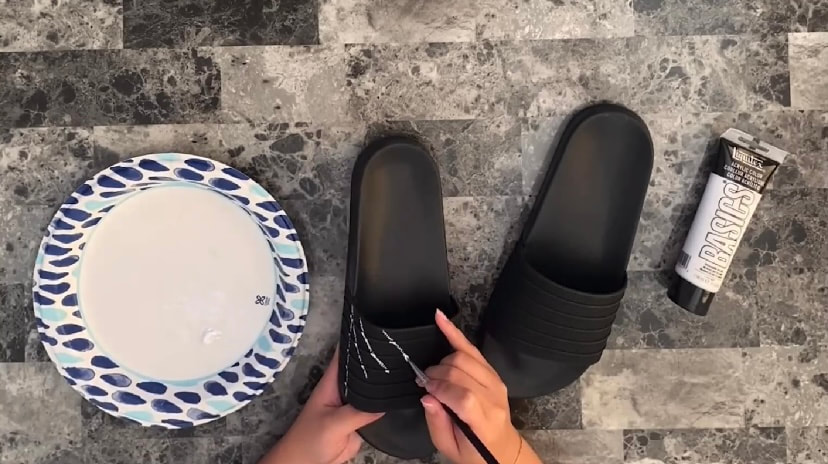
Step 2: Paint
Take your angled brush and dab some paint on it. Before you start painting, brush off any excess from the brush to keep your brush strokes thin. We dabbed paint on the slides because it wasn’t a smooth texture. Since we wanted spider webs, we dabbed radial lines across the strap of the slide. In doing so, we could dab the viscid thread to connect the radial lines and form an intricate spider web. As you continue to paint, take your time and paint your ideas! Step 3: Mistakes are Fixable! When painting our ghosts on the right side, we had to paint over our mistakes with black paint to have the ghosts we wanted. If you make a mistake, wait for the paint to dry and use the paint color that matches your slide to paint over it. We used a round paintbrush to dab black paint to cover my mistakes. Once you’re satisfied with your design, take those spooky kicks for a spin! Tag us on Instagram and Facebook @GoodwillNewMexico |

- Home
-
Free Services
- Service Center Hours
- Community Conference Room
- Employer Services
- Career Specialists
- Film Industry Support
- Production Assistant (PA)Training
- Job Search Help
- JumpStart Youth Program
- GoodSkills Classes
- Next Steps Reentry Services
- Seniors 55+ Employment
- Veterans' Employment
- Veterans' Housing
- Veteran Family Services
- Program Surveys
- Shop
- Donate
- Jobs
- About Us
- Blog
- Events

©